Part 1: Installation – How To Install And Set Up Koha For Schools
Koha, an integrated library system, is one of the best open source projects I know. We use it in our school and teaching materials library. It is used by many schools, universities and libraries all over the world. It has a lot of features and you can configure and customize it very flexibly. However, there is one disadvantage: If you have not had much to do with libraries up to now, the entry is rather steep, not so much in Koha, but in the bibliographic data format MARC21, which is why I would like to show in this series of articles how to install and set up Koha for schools.
The first part deals with the basic installation of Koha and the establishment of a first library.
This article is part of a series:
- Installation and Setup of a First Library
- The Bibliographic Framework
- Basic Settings
- Cataloging
- Printing Labels
- Circulations and Fines Rules
- Connecting to a Z.39.50 / SRU Server
- Notifications and Reminders
- Overdue Notices and Fees
Do you want to install and set up Koha?
Download Your Implementation Checklist!
Installation
Preparations
Koha is a web application so we need a web server. This can be your own computer, a virtual machine or a Linux container. In this example we will use an LXD container with Ubuntu 20.04, but any other computer with Debian or Ubuntu will work.
First we add the package sources and the corresponding key for Koha:
$ echo deb http://debian.koha-community.org/koha stable main | sudo tee /etc/apt/sources.list.d/koha.list
$ wget -O- http://debian.koha-community.org/koha/gpg.asc | sudo apt-key add -
After that we have to update the package sources once:
$ sudo apt update
Now we can install Koha and the database server:
$ sudo apt install koha-common mariadb-server
To make our database server more secure, we can change some settings with the following command:
$ sudo mysql_secure_installation
Except for the first question all questions can be answered with Yes (“Y”). A root password should be set!
Before setting up Koha, we need to make some basic settings in /etc/koha/koha-sites.conf. It is a question of determining the domain under which Koha and OPAC (the website where the user can search the library and login to their account) can be reached later. It is composed as follows:
- OPAC: library.domain.tld
- Koha-Intranet: library-intra.domain.tld
To do this, we open the file and change the following parameters:
- DOMAIN – here we enter the main domain, e.g. “.my-school.org”.
- INTRASUFFIX – default “-intra”, e.g. library-intra.my-school.org
$ sudo nano /etc/koha/koha-sites.conf
Afterwards we activate some web server modules, so that Koha can be reached later:
$ sudo a2enmod rewrite
$ sudo a2enmod cgi
$ sudo systemctl restart apache2
Install Language Pack (optional)
We can install a language package in this way (e.g. German):
$ sudo koha-translate --install de-DE
Later, both the Web Installer and Koha are available in German. To list all available languages use this command:
$ sudo koha-translate --list --available
Create Library Instance
With Koha we can create and manage multiple libraries. But so far there is no one, so we have to create one first.
$ sudo koha-create --create-db library
If Koha should be accessible later at library.my-school.org, we have to use library as library name.
Next, activate the new configuration for the web server and restart it:
$ sudo a2enmod deflate
$ sudo a2ensite library
$ sudo systemctl restart apache2
In order to reach the web installer we need to enter the IP and domain name either in our DNS server or locally in the hosts file. In Ubuntu it is located at /etc/hosts. The IP can be found out with ifconfig, for example.
$ sudo nano /etc/hosts
...
10.97.127.207 library.my-school.org
10.97.127.207 library-intra.my-school.org
...
Setting up Koha
Base Installation
Now you open the webinstaller here: http://library-intra.my-schule.org
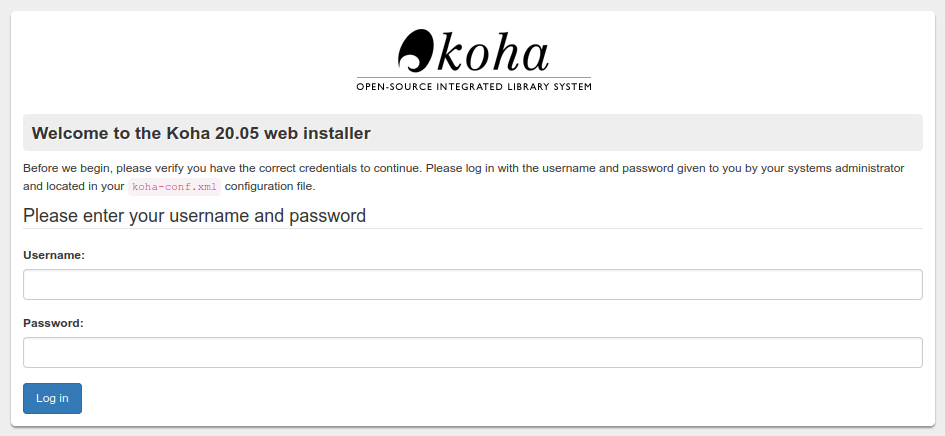
The user is koha_libraryname. The password is obtained with the following command (adjust libraryname!):
$ sudo xmlstarlet sel -t -t -v 'yazgfs/config/pass' /etc/koha/sites/libraryname/koha-conf.xml;echo
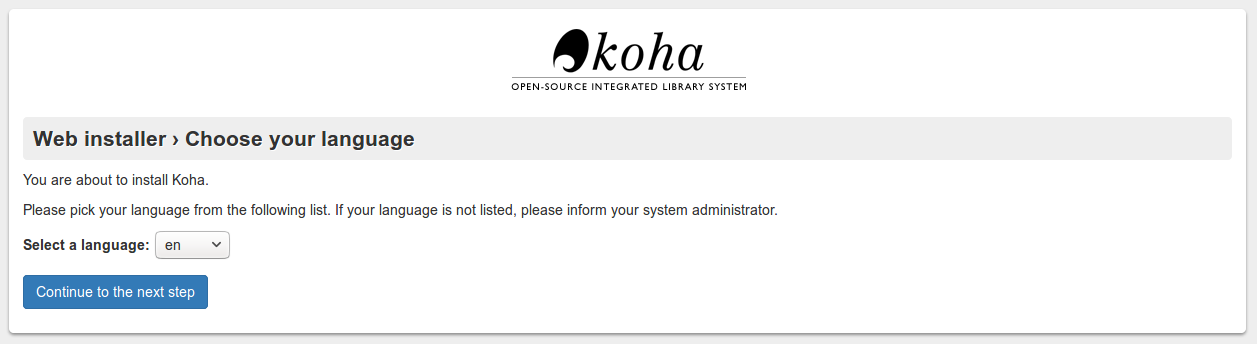
In the next step we can select the language:
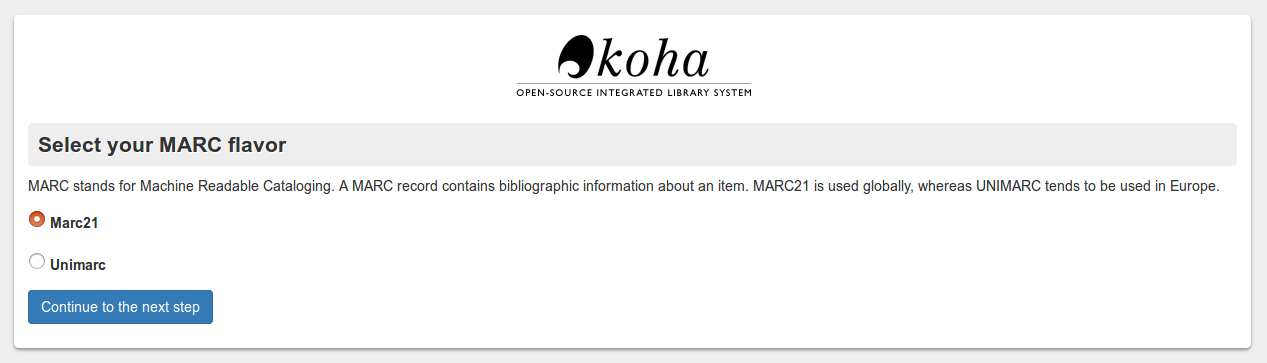
In the next steps, dependencies are checked, e.g. whether all Perl modules are available, the database tables are set up and a MARC format must be selected (MARC21 is the standard).
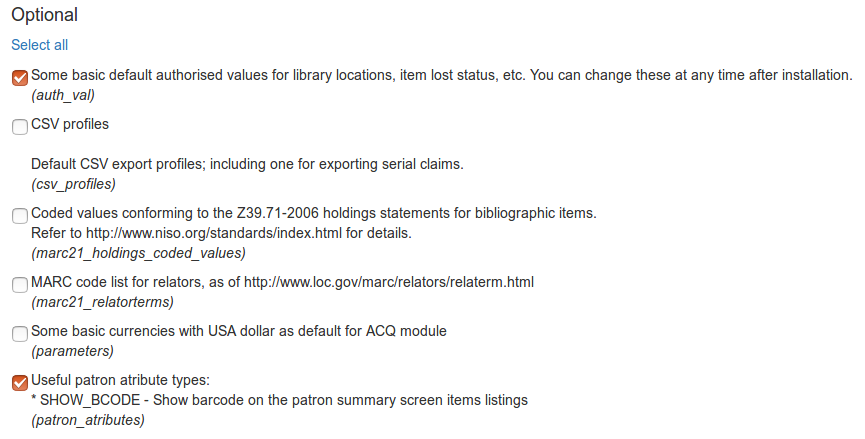
Then there is a longer page where we can fill the database with different templates and sample data. Here you have to decide what you want to have in the database. We select the following points in addition to those already marked:
- Default MARC 21 bibliographic framework.
- ‘FA’, a ‘Fast Add’ minimal MARC21 framework suitable for ILL or on-the-fly cataloguing.
- Some basic default authorised values for library locations, item lost status, etc. You can change these at any time after installation.
- Useful patron atribute types
- Allow access to the following servers to search and download record information
This completes the basic installation.
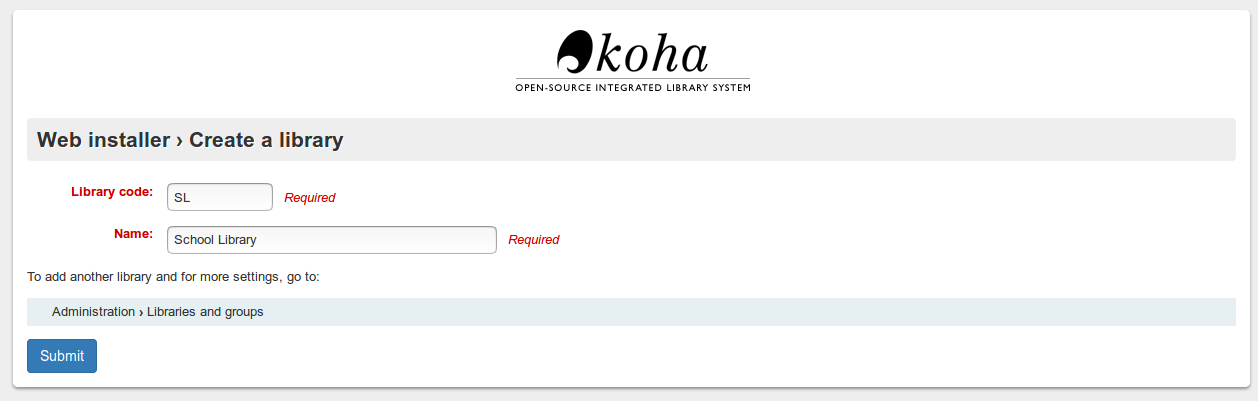
Set up Library and Initial Settings
Now we are asked what our library should be called. To do this, we define an abbreviation (cannot be changed later) and assign a name. Let’s call it School Library.
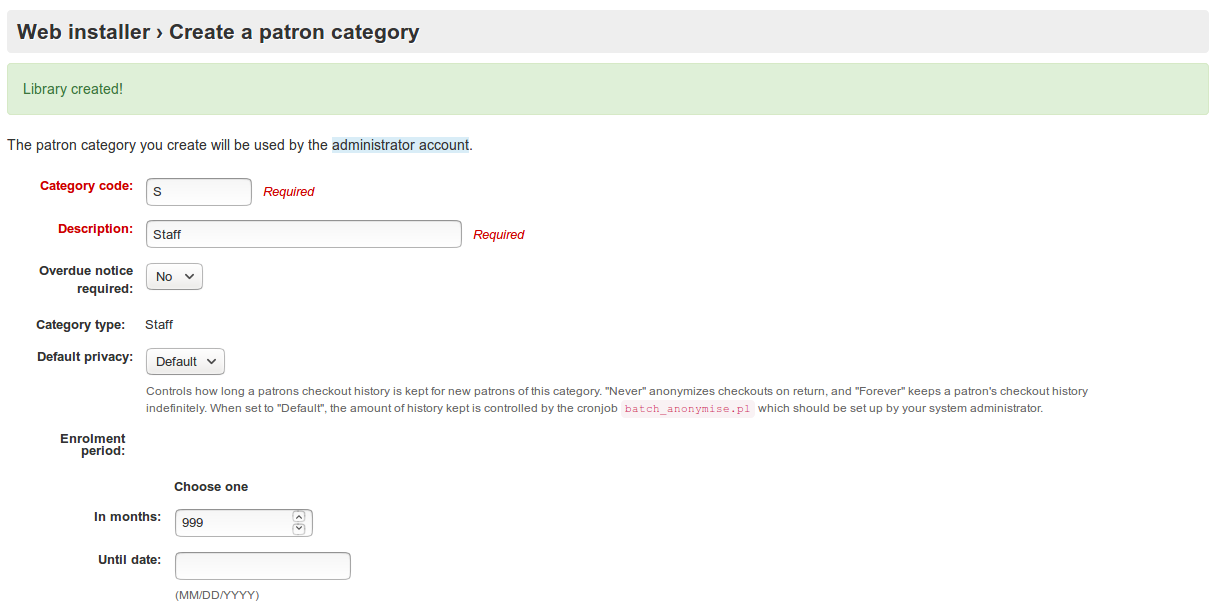
Next we will create a first user type. The admin account that we are about to create uses this type of user. Again we have to assign an abbreviation or code for the category (“S”), a description and the duration of the membership. The latter determines when a user account expires in this category.
Once the user type has been created, we create the administrator. This user has “Superlibraian” rights. All fields are mandatory.

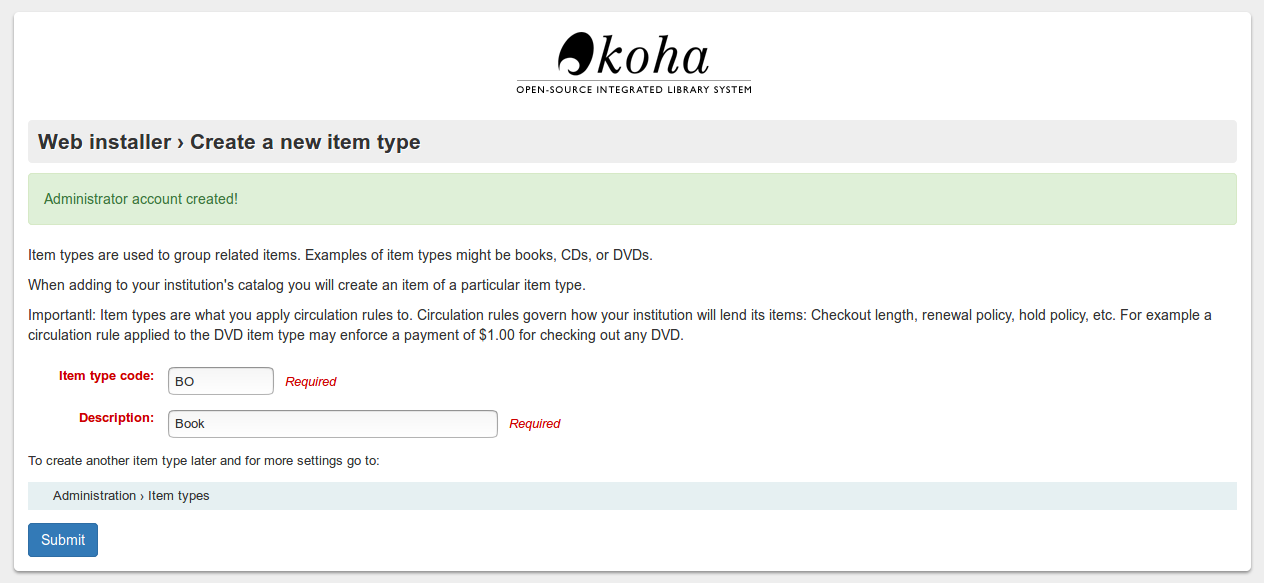
Now we define a first media type. These can be books, CDs, DVDs, cards, etc. Again, we need a code that can’t be changed later, and a description:
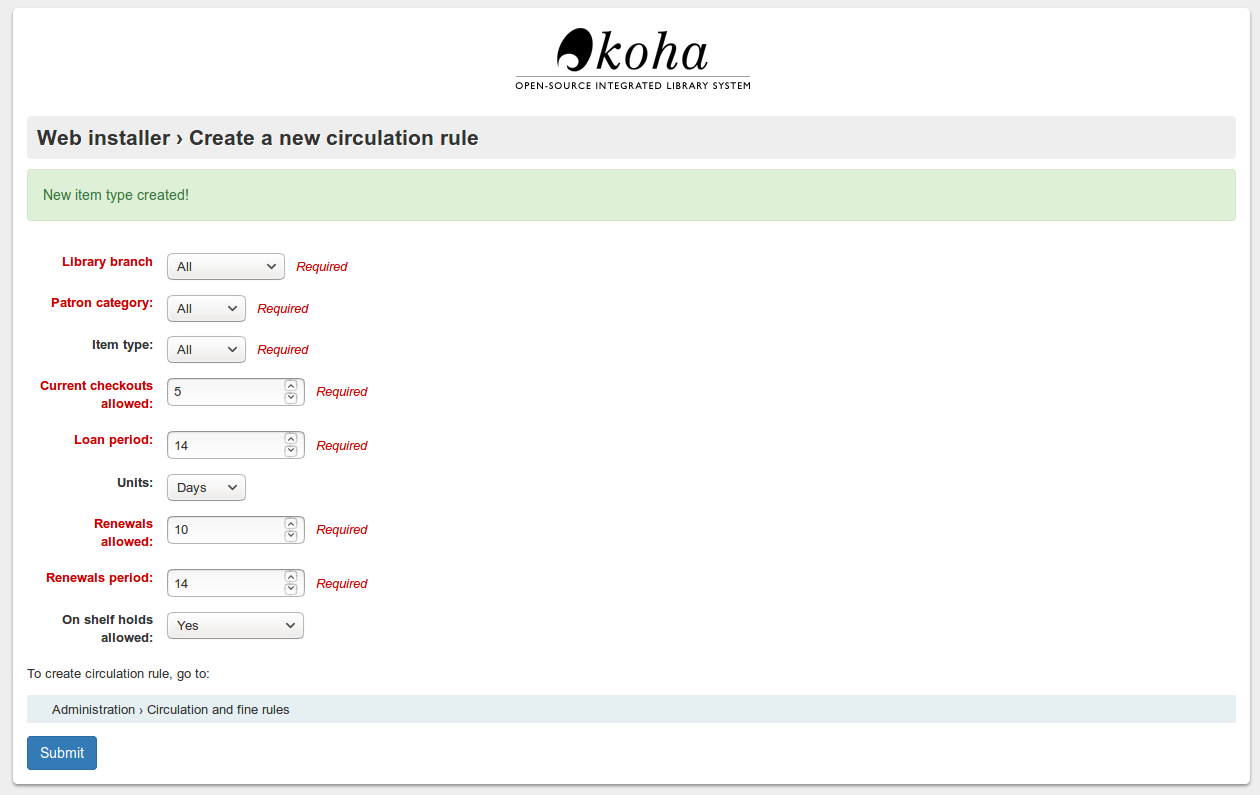
Finally, we determine the lending conditions for the newly created media type. The settings are very flexible. You can set the loan period or specify the library or user type for which the rule applies. We can change the rules later. For the moment we set “Current Checkouts allowed” to five, because we don’t won’t our students to loan more than five books at a time.
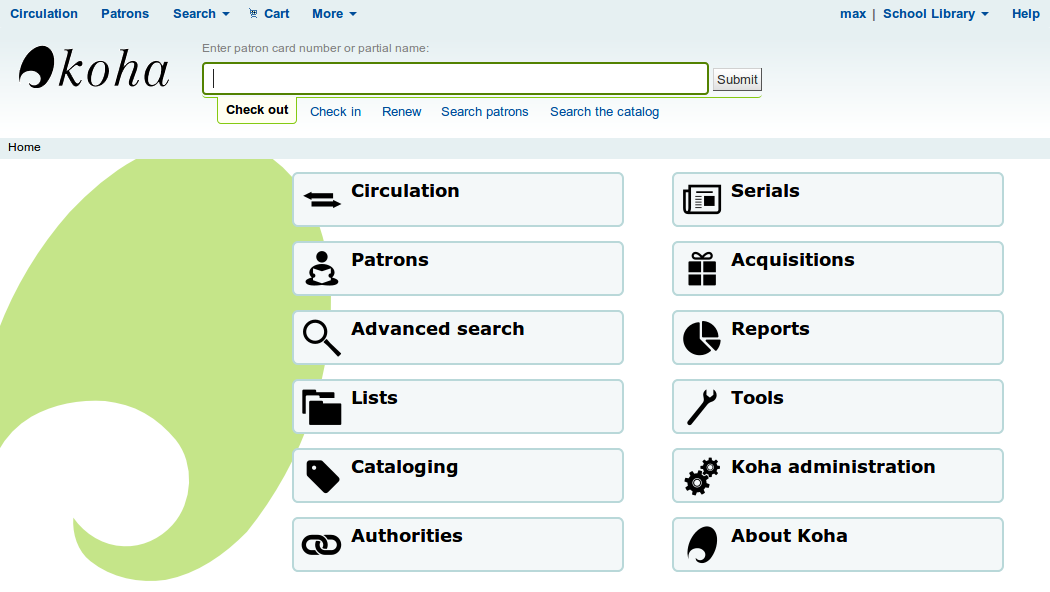
This completes the basic installation of Koha and our first library! At http://library-intra.my-school.org we can now log in with our admin account and have access to the administration page of Koha. There we make all further adjustments, check in or check out books.
Conclusion
We now have a working Koha installation and a first library. Nevertheless, many other settings are necessary before we can add a record for our first book in Koha. I would like to show this in the coming articles of this series.
Looking for great Open Source Software for your classroom?


7 Comments
Rajesh Bhatt · April 6, 2018 at 2:12 pm
Sir,
I want to learn how to access OPAC from web. Recently we are accessing through LAN using IP Adress that is 192.168.1.xx. My koha is installed in Debian 9 which is Guest OS in Virtual Box , Hosted by Windows 7.
Stephan · April 6, 2018 at 7:52 pm
@Rajesh: Check the official install guide the appendix about IP vs. named-based installation. I think all you need to do is to add the DNS names to your windows hosts file. https://wiki.koha-community.org/wiki/Koha_on_ubuntu_-_packages#Appendix_A:_Named-based_vs._IP-based_installations
Decka · May 1, 2018 at 11:19 am
Very handy information on the setting up Koha ILS using Name Based setup. Thank you
Martin Martinas · May 15, 2018 at 7:55 pm
I think that the posts are very quick for newbies. Could you please extend them a little. Othervies, great post!
Part 2: The Bibliographic Framework - How To Install Koha And Set It Up For Schools | Open School Solutions · March 31, 2018 at 8:01 am
[…] the first part of this series we have already installed Koha. Before we can record or loan a book, some settings have to be made. […]
Part 3: Basic Settings - How To Install and Set Up Koha For Schools | Open School Solutions · April 10, 2018 at 7:02 pm
[…] Installation and setup of a first library […]
Top 5 Open Source Software For Schools | Open School Solutions · October 10, 2020 at 6:01 pm
[…] Koha is an integrated library system. It is used in public libraries, schools, and other libraries worldwide. We also converted our library to this software about 5 years ago. Koha has many features and is flexible in configuration. It’s a bit steep when you’re not a professional, but you’ll be rewarded with a great system. If you’d like to learn more about Koha and how it’s used in schools, check out this little blog post series. […]